
Uploading photos
Uploading dish photos, cover images, logos and image blocks, and setting the aspect ratio and image fit.
You can add images in four places: to a dish, to the cover (cover image and logo), and to a standalone image or featured box block. Uploading works the same way everywhere.
Uploading a dish photo
Select the dish in the left-hand list or on the page.
In the Dish photo field of the right-hand panel, click the Click or drag an image here area and choose the file. You can also simply drag the image in from your computer.
After the upload, a preview of the image appears, with the Image ratio and Image fit fields below it.
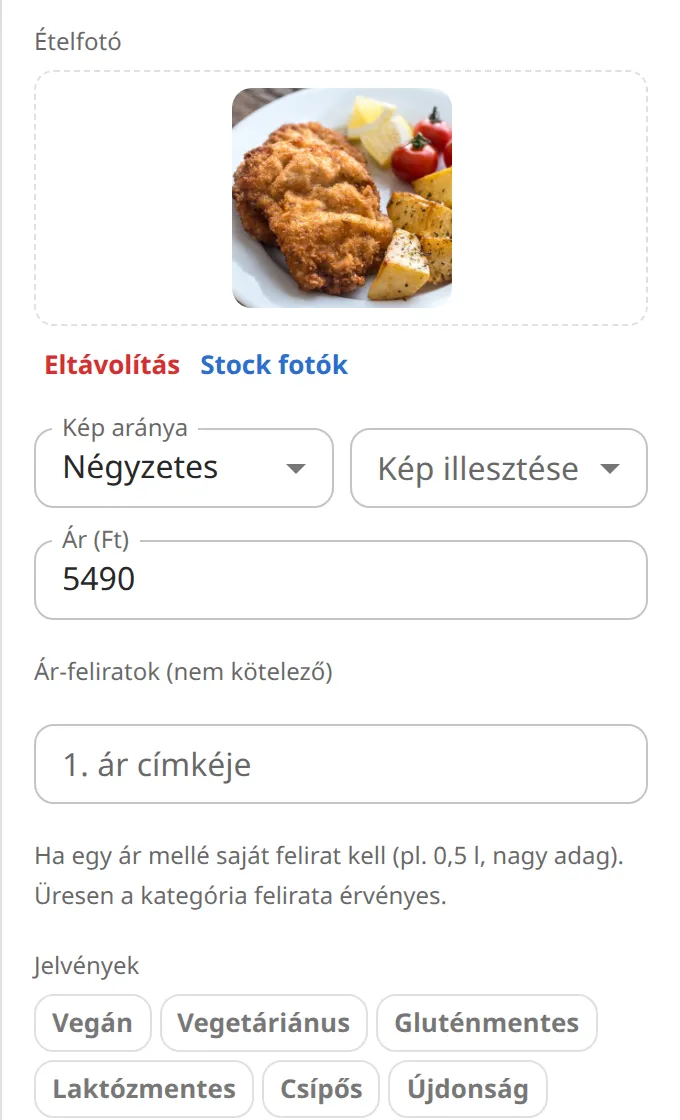
To replace it, upload a new image; to delete it, click Remove.
Which images can I upload?
- JPG, PNG or WebP format, up to 10 MB.
- The system automatically rotates photos taken with a phone, downsizes them to at most 1500 × 1500 pixels and compresses them. That is enough for print at the size of a dish photo.
- Food photographed against a light, sharp, plain background works best. Within one menu, try to use pictures with similar lighting and setup.
Aspect ratio: landscape, square or portrait
The Image ratio field determines the shape of the frame the image is shown in. On upload the system fills it in from the image's real size, but you can change it.
- Template default: the frame set by the template's designer.
- Landscape: a wide image, for example for a plated dish or a long platter.
- Square: the safest choice for most dish photos.
- Portrait: a tall image, for example for drinks and glasses.
Image fit: cropped or whole image
- Fill the frame (cropped): the image fills the frame completely and anything that doesn't fit is cropped from the edges.
- Whole image (no cropping): the entire image is visible, and an empty strip may remain at the edge of the frame.
- Template default: the template's default setting.
Cover image and logo
In the left-hand list, click Edit cover.
Upload an image to the Cover image and Logo fields. For the logo, a PNG with a transparent background looks best.
Stock photos
Under the dish photo, cover image and image block fields, the Stock photos button opens the built-in photo gallery, organized into categories. The gallery is part of the subscription: on the free plan the images appear blurred and can't be inserted. You can upload your own photos on any plan.