
Your first menu in 5 steps
From sign-up to a downloaded PDF: how to finish your first menu in about fifteen minutes.
You don't need any design skills for this. The template provides the design and the layout is automatic, so you only have to deal with the content. Your menu saves itself after every change.
1. Sign up for free
Open the editor and click the Sign up link.
Enter your email address and a password of at least 8 characters. Your name is optional.
Click Create account. You are signed in right away and the My menus page opens.
- You will also get a confirmation email. Click the link in it, but feel free to keep working in the meantime: confirmation is not required for editing.
2. Pick a template
Scroll down to New menu from template. Each card shows the template's cover and first page, with its style underneath (for example "bistro · warm · ornate").
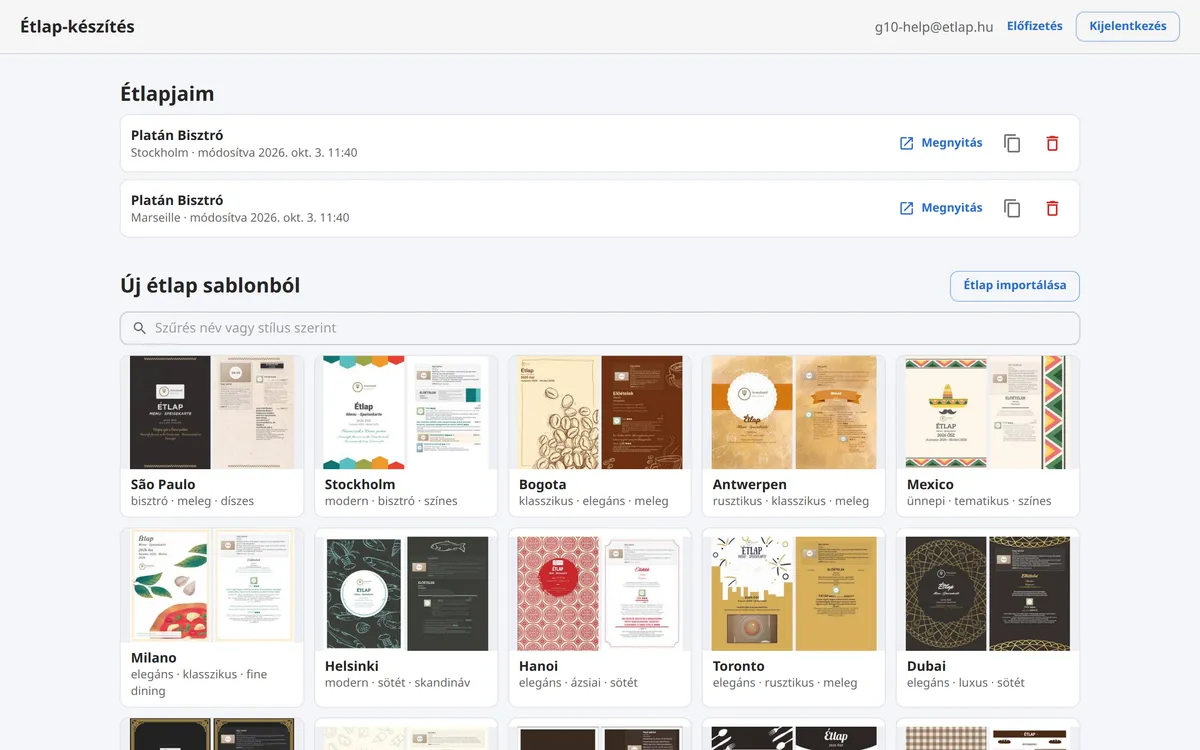
If you know what you are looking for, type it into the Filter by name or style field, for example: pizzeria, elegant, café.
Click the card of the template you like. The new menu is created immediately and opens in the editor with a cover and a menu page, holding a starter category and a "New dish" entry.
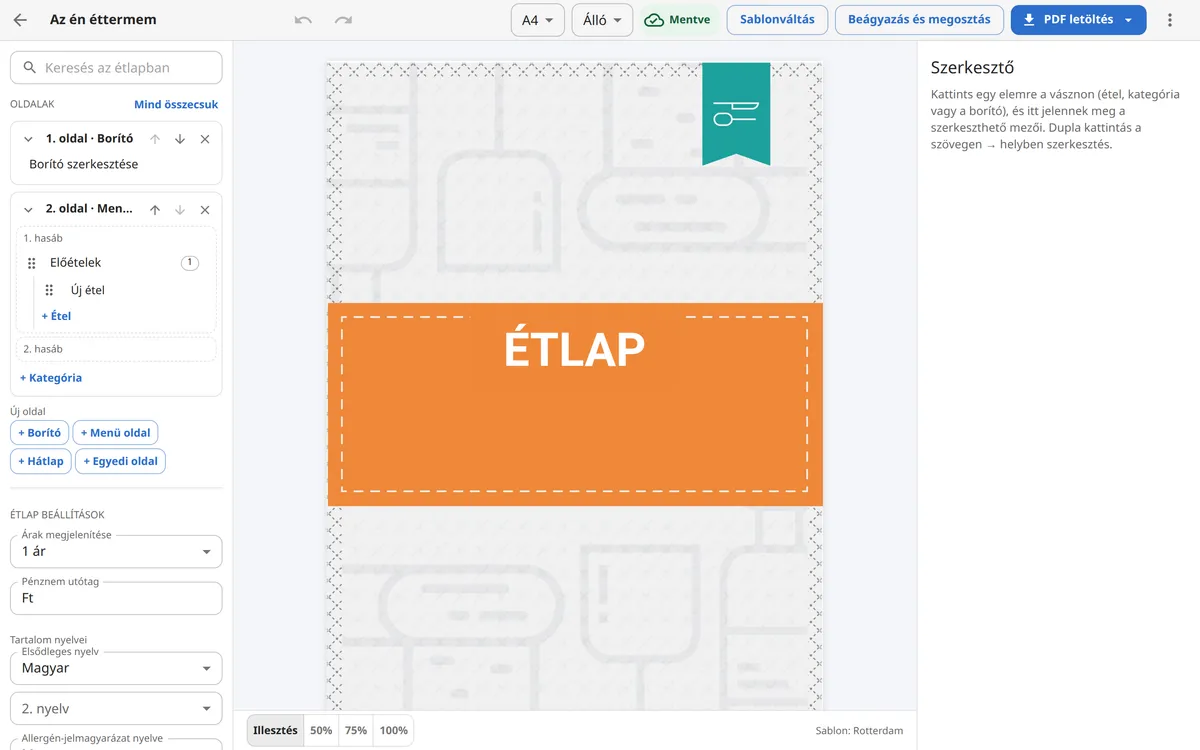
- Don't worry about your choice: you can swap the template at any time and your content stays. See: Choosing a template and switching with your content.
3. Enter your restaurant name and cover
At the top left, next to the back arrow, change the menu name (by default "My restaurant"). This name appears in your My menus list and in the file name of the downloaded PDF.
In the list on the left, click Edit cover. In the right-hand panel, fill in Restaurant name, Cover title and, if you like, Subtitle and Motto.
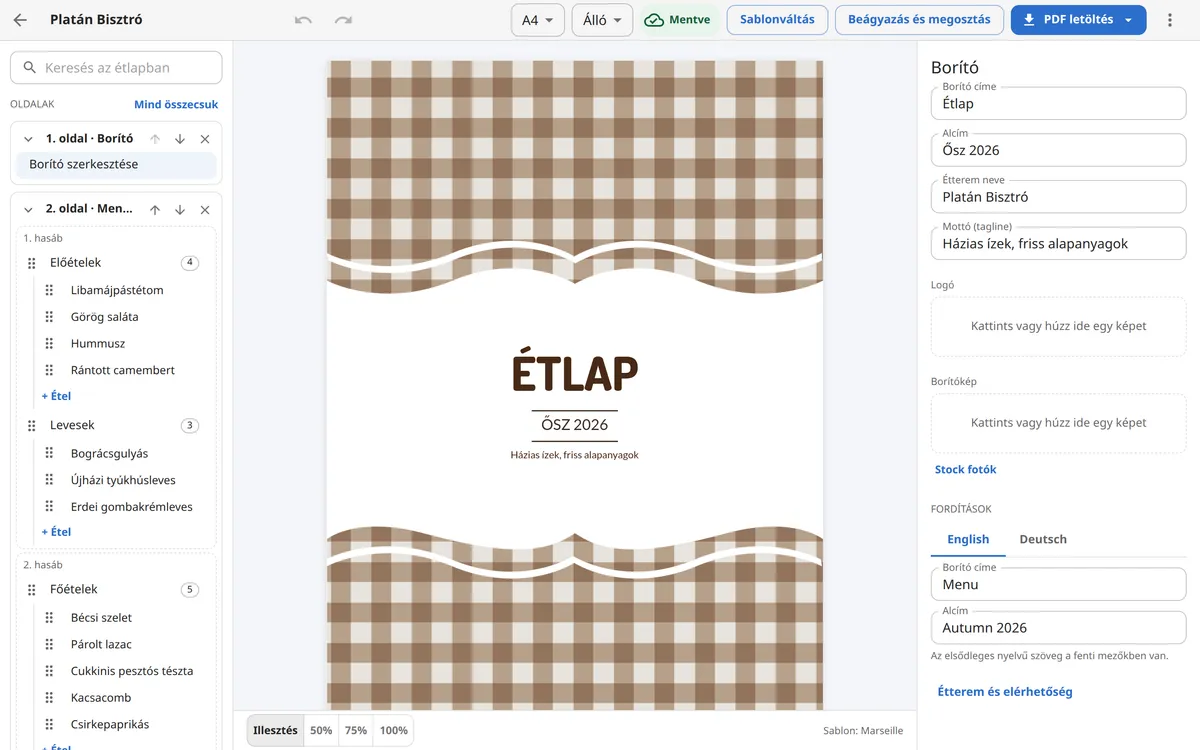
4. Add your categories and dishes
Click the starter category (for example "Starters") in the list on the left, and replace the text in the Name field of the right-hand panel with your own category name.
Click the "New dish" row and fill in Name, Description and Price. Don't type a currency next to the price: the system adds the currency suffix for you.
Add another dish with + Dish under the category, and another category with + Category at the bottom of the page.
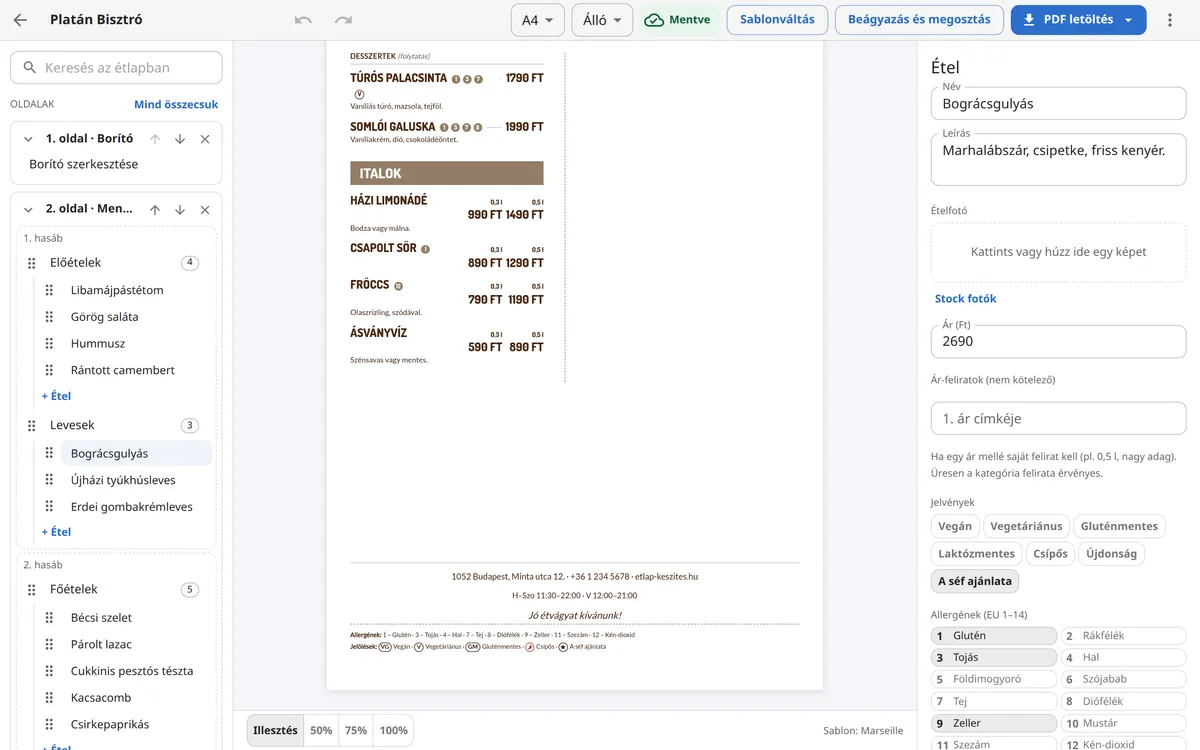
If more dishes land on a page than fit, the system starts a new page by itself. You don't have to lay anything out.
5. Download the PDF
Check the save indicator in the top bar: if it says Saved, all your changes are on the server.
Click Download PDF at the top right and choose For screen / home printing.
Your browser downloads the PDF named after your menu. For a print shop version, read the article PDF export for the print shop.